Wednesday, August 20, 2014

Wednesday Recipe: Easy Breakfast Scramble

It seems like a good time to share another yummy recipe I concocted with you guys! 

As we all should know, breakfast is the most important meal of the day. And also that time when we are supposed to eat the most of our calories (but I bet most of us don't actually do that!). So I have been messing around with changing my breakfast meals up and came up with this super simple breakfast egg scramble that I find both delicious and easy!


Easy Breakfast Scramble


Ingredients:2 large grade A eggs (or whatever eggs you have in the cabinet).
Milk to taste (I generally just use a tablespoon)
Organic Spinach (about 1/4 - 1/2 cup)
Grated Cheddar Cheese (about 1/4 cup)
Organic Baby Tomatoes (about 4 - 5, cut in half)
Whatever other things you want to mix in. I have used ham/lunchmeat and fresh pepper before.
Cooking spray (to spray the pan, if needed)

Instructions:

Spray your pan, and add the 2 eggs plus the milk. Turn the burner onto high and watch for it to begin cooking.

Stir eggs as they cook and turn down heat if needed.

Once they start to fluff up, begin adding other ingredients (generally, it's best to wait until eggs are all but done)

After adding ingredients, continue cooking so that cheese melts and veggies get cooked/warmed a bit. 

Transfer to plate, sprinkle with extra cheese if desired, and enjoy!

Even better with a bowl of cereal and fresh fruit!

Nutritional Info:
(per serving; one serving - 1 recipe)
256  calories 
16 g fat (mostly from eggs)
302 mg sodium
8 g carbs
7 g sugar 
19 g protein

This is really one of my favorite things to make on the weekends for breakfast. It's so simple and so fast. And tastes so good. And the cleanup is easy also. I hope you have a chance to try it - let me know if you find any yummy ingredients!

~Lisa 

Tuesday, August 12, 2014

Product Review: The Veggetti

Disclaimer: I am not getting paid/compensated for this review. It is all a matter of personal opinion and I by no means am endorsing the product.

Today, I wanted to take a moment to share with you a cool kitchen gadget I impulse bought invested in this past week. Every time I go into Walmart (which isn't often, trust me), I see this product by the checkouts and finally just decided to buy one.


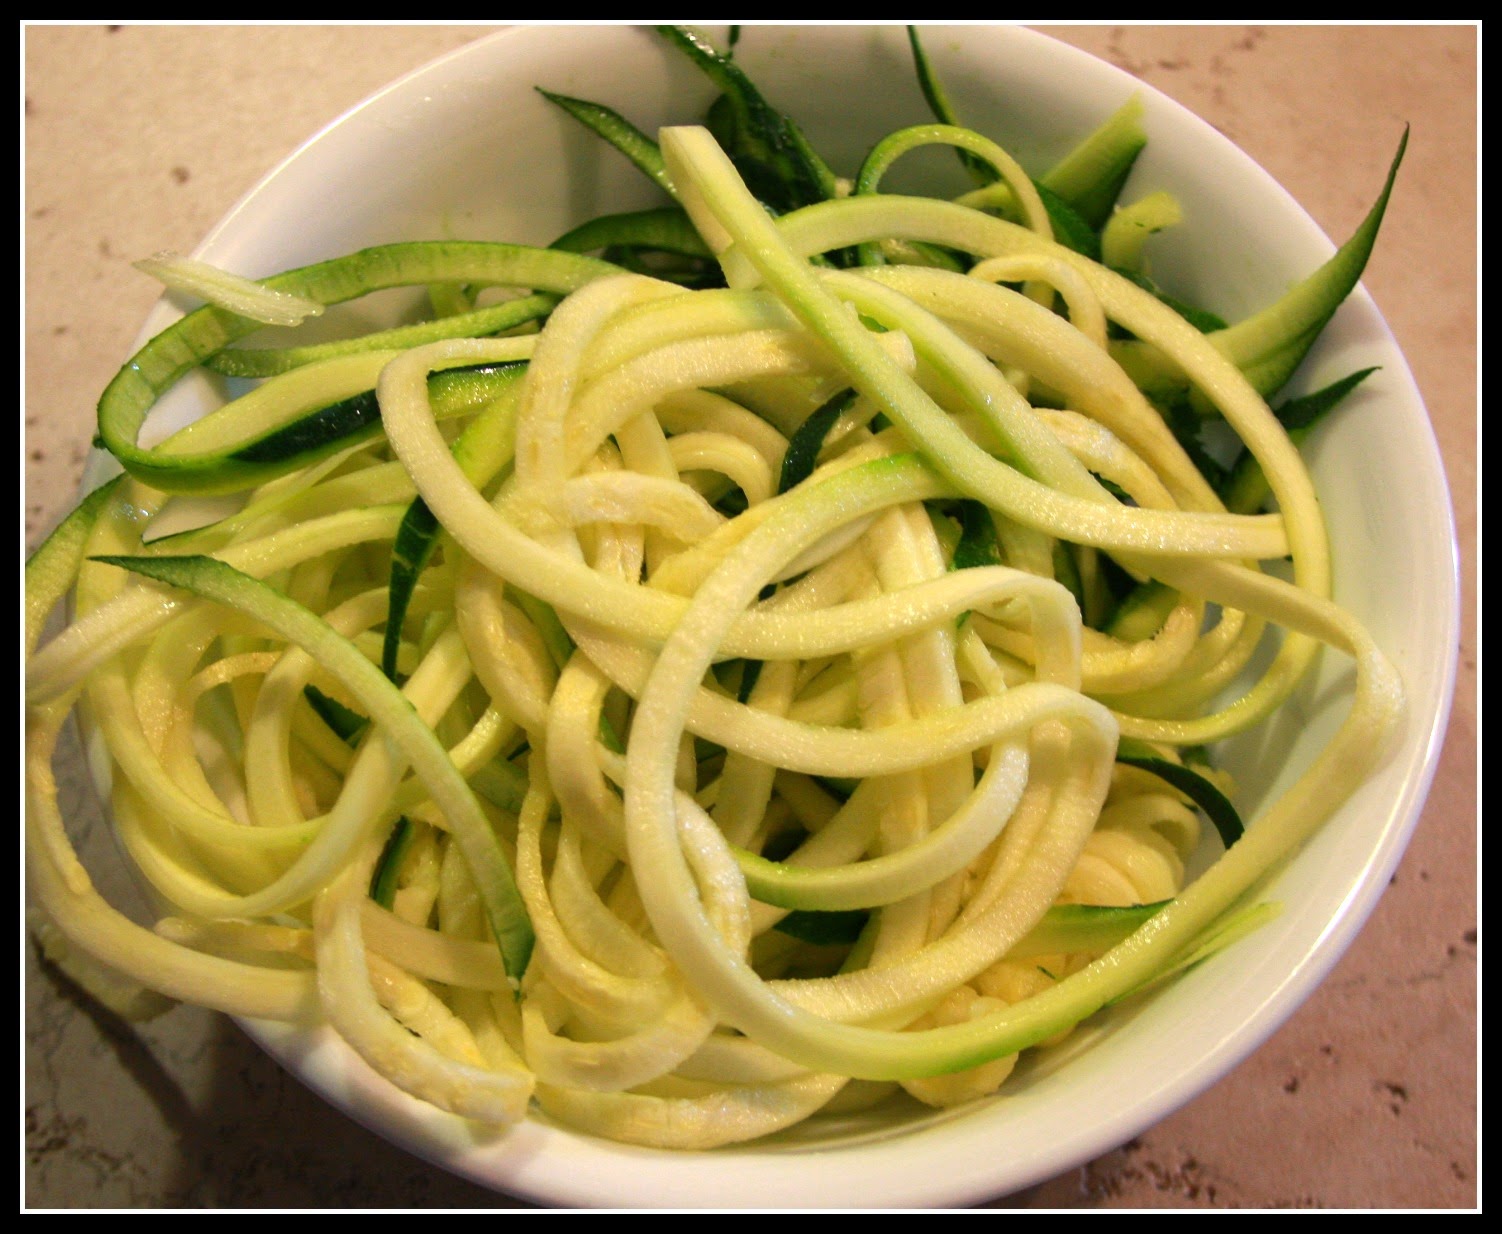
Introducing the Veggetti! This cool little funnel like contraption claims it will turn vegetables into spaghetti like strands. I have tried zucchini 'pasta' once before and loved it. Plus the idea of pasta without the carbs had me intrigued.

So I decided to make zucchini pesto pasta this week for my lunches - what better way to try it out then with the main vegetable it emphasizes?

Upon opening up the package and reading the instructions, we learn that it has two sides, one for thin noodles and one for thick. I decided to try the thick side for yesterday's lunch. The instructions are fairly simple: Place your vegetable in the hole for the desired side and twist. The noodles will come out the slot on the side. You will likely have to pull them apart with your hands a bit, but for the most part it's fairly simple to use.


Once your vegetable gets low, it comes with a pusher/lid to help finish the rest off, but of course that still doesn't get the very bottom. So I ended up with an end cone of zucchini that I couldn't make noodles with. Instead of throwing away, I just cut it up and added it to my other vegetables. 

The instructions also say that once you finish up the whole vegetable you should bunch it up and cut it all in half to make it more manageable, but I found that it was fine long also. 


After you have finished up your noodles, there are several things you can do with them. You can eat them raw (like on salads and such), boil them like pasta, or stir fry/saute them. I decided to just boil mine like pasta. The best part is that you don't have to boil for more than 2-3 minutes, which is nice. 

While those were boiling, I cooked up some chicken and other veggies. I decided to top the noodles with those and some homemade pesto sauce (recipe to come soon!). 


Overall, I think that I will continue to use this for a while. I do like that I can make low carb lunches so easily, and still get filled up. I want to try it with marinara sauce - pesto didn't go quite so well with it all. My only quam it that little end piece. I also am not sure how this cleans up (my mom did the dishes that night so I'll have to ask her). 

Lisa's Review:
All points out of 10 (1 lowest)
Usefulness: 9
Ease of use: 7
Price Point: 5 ( $14.99 at Walmart is a bit steep to me)
Clean up: 5 (may change after I mess with it more)
Tastiness: 10 ( I would def add seasoning to the water!)
Would I buy this again?: Yes, if it were cheaper. 

I hope you enjoyed this review. Feel free to ask any and all questions you have about this product. It may seem like a gimmick, but it really is a cool little gadget for all those vegan/paleo/vegetarians/dieters out there. 

~Lisa


Tuesday, August 5, 2014

Healthy(er) Chocolate Coconut Cake

About a month ago I was in my local health food store and found an organic cake mix on a clearance rack. Given my obsession with all things chocolate, I decided to pick it up. It's been sitting in the pantry since, mostly because I have been just too busy to care. But I had last Friday off, and decided to see what I could come up with.


Healthy(er) Chocolate Coconut Cake


Ingredients:
1 chocolate cake mix ( I bet it would work with any kind, but why not go organic? I used Madhava)
1 cup coconut milk (or whatever amount the box calls for)
1/2 cup coconut oil (or whatever amount the box calls for)
3 eggs (or whatever amount the box calls for)


Instructions:
Preheat oven according to box. For mine, it's 325.

If needed, melt your coconut oil in the microwave (no more than 30sec should do it). 

After you have the melted oil, mix all the ingredients together in a mixing bowl. Make sure you get it mixed really good so the oil doesn't separate.

Pour into a greased cake pan. (I greased my pan with more coconut oil)

Bake as instructed, for mine it was 35 minutes


Allow to cool at least 10 minutes before removing from pan (if you plan to remove from pan). 

Allow to cool at least an hour before frosting.

So frosting is another story. I mean, what's the point of a "Healthy" cake if you buy that hydrogenated, trans-fat laden Pillsbury frosting at the grocery store?  I went in search of the perfect frosting for this cake and struck gold.

Chocolate/Coconut Frosting:

Ingredients:

1/2 cup dutch cocoa powder
1/4 cup coconut oil (softened)
1 Tbsp raw honey or pure maple syrup
1/4 tsp pure vanilla extract
pinch of sea salt (although I did not use this because we didn't have any)

Instructions:

Mix all ingredients together in a small bowl and pour/spread over cooled cake. 

Top with shredded coconut, sea salt, strawberries, fruit, etc. 


I think my favorite part of this cake was eating it. After refrigerating for a bit to stiffen the frosting, it became more like a dense chocolate bar and less like a cake. It has so much texture and flavor. My sister says she thinks it really tastes like coconut. Even my dad liked this, and he's usually only into traditional recipes.  In my book, that's a seal of approval. Just watch out - coconut oil has quite a bit of saturated fat, the good kind, but still. Overall, I think I will probably find myself making most of my cake mixes (organic or not) this way again. I wonder what vanilla would taste like?

~Lisa

Saturday, August 2, 2014

Citrus Chicken with Garlic-Parm Potatoes and Steamed Greenbeans

I have decided to start a new on the whole food blogging thing. I've been doing so many different things in my kitchen lately that it just makes sense.

Expect lots of great things to come! Including, but not limited to, recipe sharing, cooking/kitchen tips, food reviews and my ramblings about all things foodie.

Let's start with a recipe!

Citrus Rubbed Chicken
(served with garlic-parm potatoes and steamed organic green beans)

This is a recipe I found via pinterest. For the original, visit Eatsy

Ingredients:

Chicken pieces, at least the equivalent of a whole chicken, but you can generally fit two whole chickens in a large pan. I used Simple Truth free range chicken, but you can use any you like. 
1 tablespoon of salt (we just used the basic table salt)
2 teaspoons of paprika (or more/less to taste)
1 teaspoon black pepper (or to taste)
2 lemons (to zest and juice)
1 large orange (to zest and juice)

Instructions:

Preheat your oven to 400 degrees

Mix together your citrus zests with the paprika, salt and pepper. Combine well. It will be a bit "sticky"

Clean your chicken and place in a baking pan. It will cook better if the pan is packed pretty full. 


Apply your zest mixture to the top/sides of your chicken. Rub in the best you can. 

Cut the lemons and orange into wedges, and squeeze a bit of juice over the top of the chicken. Place the wedges in the pan and under the chicken for added flavor.

If desired, let the chicken marinate for an hour or so.

Roast your chicken in the oven at 400 degrees for about an hour, or until it is no longer pink all the way through (165 degrees is a good temperature). The fuller the pan, the longer it will take to cook (ours took about 90 minutes).


Remove from oven and let it cool a bit before serving.

The chicken should juice up pretty well as it cooks, this juice is great spooned on top as you eat, as well as squeezing more oranges/lemons on top.

Nutrition info:
(per serving, serving size: 1/4 chicken)
44 calories 
1 g fat
18 mg cholesterol
2546 mg sodium
91 mg potassium
2 g carbs
2 g fiber
0 g sugar (unless you count small amount from juicing)
7 g protein
13% daily vitamin a
15% daily vitamin c
2% daily calcium
4% daily iron

If you're looking for a great full meal, I highly recommend my go-to Parmesan potatoes recipe. If you use fresh grated parm and good quality olive oil, they turn out superb. For veggies, you can't go wrong with organic steamed green beans or broccoli.

I hope you enjoyed my first new post. I can't wait to share more amazing food adventures with you all!

~Lisa