It's been awhile since I shared anything on this blog, but today I made this amazing dish and it needed to get posted.
Before I share the recipe though, I want to give a shout out to two of the products that made these tacos happen.
Earth Galley Farms is a local farm that does Seasonal Produce Baskets weekly, and for a (very reasonable price) you get a ton of veggies to work with. I often make salads for the week but I often struggle with what to make from the "non-salad" ingredients.

Jimmy Bobby's Sausage Co is the husband of my boss at the Cafe that I work at. He recently started making sausage to see at local markets and prides himself in the fact that he's just meat and spices - all natural. And man is it delicious.

Ok now onto the recipe!

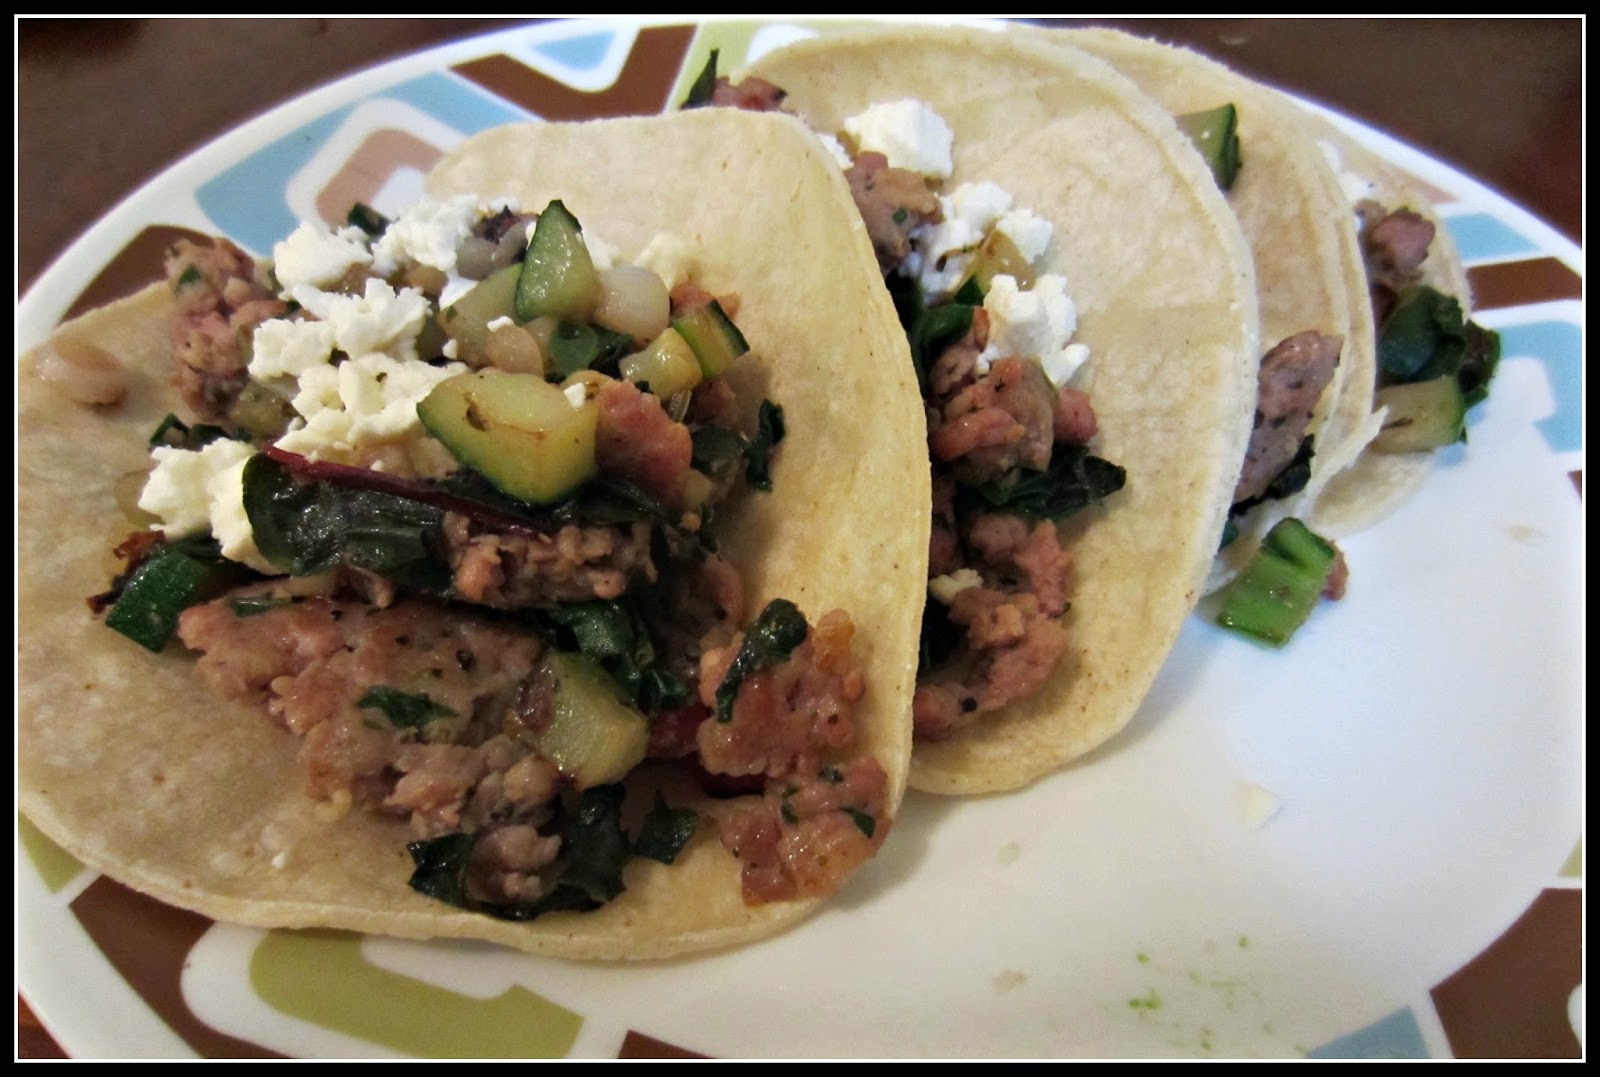
Italian Sausage Tacos with Chard and Zucchini
Ingredients:
(to make about 4 tacos)
1 lb of ground italian sausage, divided (I used about 1/4 lb for my four tacos)
1 clove garlic
2 leaves of chard with their stems
1 small red onion (Ok actually you really need like 1/2 of a red onion)
1 small zucchini squash (or half of a large one)
Salt, pepper to taste
oregano to taste
Feta cheese for topping
4 flour tortillas
Recipe:
1) Brown your italian sausage, if you are like me and plan on making more later, brown the whole pound, or just brown what you need. Don't let it get fully cooked!!
2) While the sausage is browning, clean and prep your veggies.
Dice your zucchini into small pieces, Rough chop your chard and it's stems (but keep them separate). Dice or thinly slice your onion. Mince your garlic.
Dice your zucchini into small pieces, Rough chop your chard and it's stems (but keep them separate). Dice or thinly slice your onion. Mince your garlic.
3) Once your sausage is about 3/4 done, add the chard stems, garlic and onion. Saute for a couple minutes until the onion starts to soften
4) Now add the zucchini. Saute for another couple minutes then add the chard leaves and your spices.
5) Let cook until chard has wilted. You may cover if you like, but you don't have to.
6) Warm your tortillas using desired method, then portion out your taco mixture into them. Top with feta and serve warm !

** I bet these would be even better with homemade tortillas, which I have a recipe for, but didn't have time to make**
** Consider a dressing as well? Or adding other veggies. It's super open ended**
Have a wonderful week!